
Christmas,
diy,
diy gift tags,
gift tags,
holiday
DIY // Glitter Gift Tags
Monday, December 16, 2013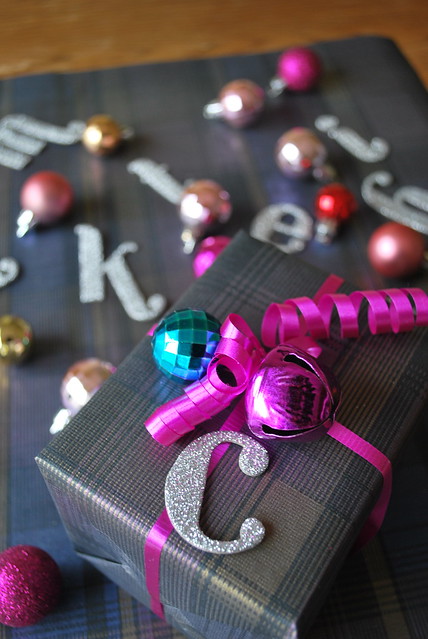
Happy Monday you guys! Can you believe we only have 9 days left until Christmas?? I'm starting to freak out a little bit. We still have so much gift shopping to do and I haven't even baked nearly enough cookies (it's a tradition that I bake at least a couple of batches of cookies before Christmas) to be able to check it off my to-do list. Between me and Steve catching colds (again), baby birthday parties, and the snow we got, we haven't really had much time to get things done as much as we'd like.
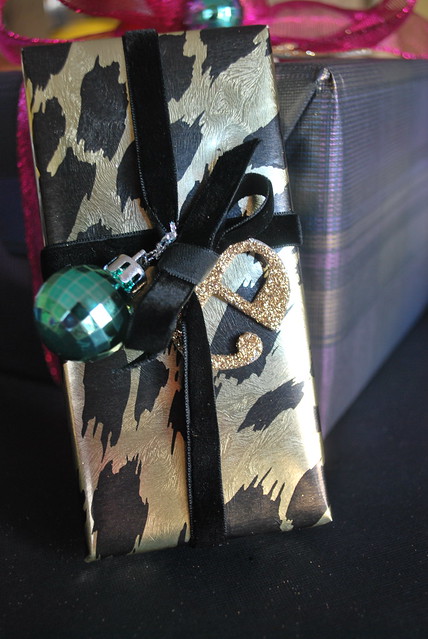
But one thing I can check off my list is unique gift tags for everyone in our family. I wanted to do something similar to what I did last year, but unfortunately our printer died a few months ago and we just never bothered to repair/replace it, so any kind of DIY/print-yourself gift tag idea went out the window. Sooo what I came up with was glittered first initial gift tags for everyone in the family. Now, I know it can get tricky if you have people with the same first initials so you'll have to come up with another way to distinguish your gifts if that's the case. I have to do the same, so I've also added other embellishments (mini ornaments & jingle bells) along with the glittered initials to make sure I don't get the gifts mixed up. Or if you really want to go all out, you could use 3 letters and make a monogram gift tag to make sure you don't get anyone's gifts mixed up.
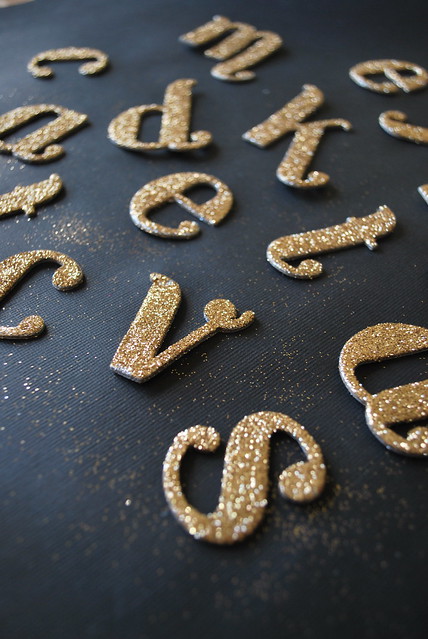
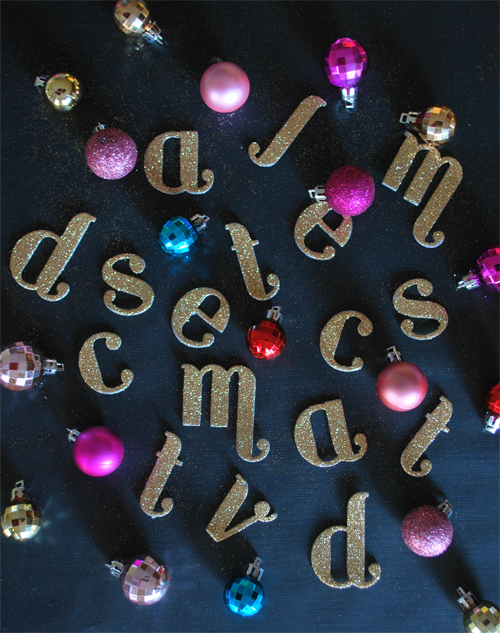
I went to Michael's thinking I would find small sized wooden letters and just gold glitter them. But when I got to Michael's, I couldn't find any small sized wooden letters that were the right font - the ones I could find were a bit too cheesy (serif type and not the good kind). Plus, they were $1 a piece so I quickly scratched that idea because it just wasn't cost-effective for my family (13 ppl x multiple gifts for each of them). While walking around, I came across these Recollections Adhesive Letters that were already glittered. They came in a bunch of different shapes and sizes and colors. But they seemed to have been sold out of the gold versions of the ones I got. So what's a girl to do when she can't get exactly what she wants? She DIYs of course! I picked up the silver ones (which are perfect fine but I really wanted gold glittered letters) along with some extra fine gold glitter and called it a day.
See how I turned them into gold glittered letters and added them to my wrapped gifts!
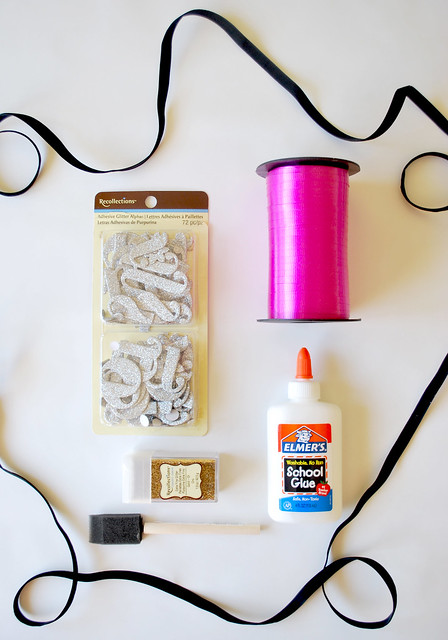
Recollections Extra Fine Glitter / Elmer's Glue / Small Sponge Brush / Any kind of ribbon you'd want to use to embellish your wrapped gifts.
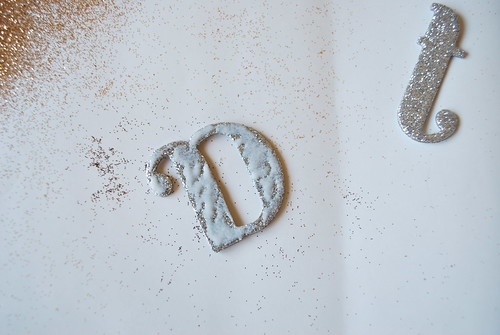
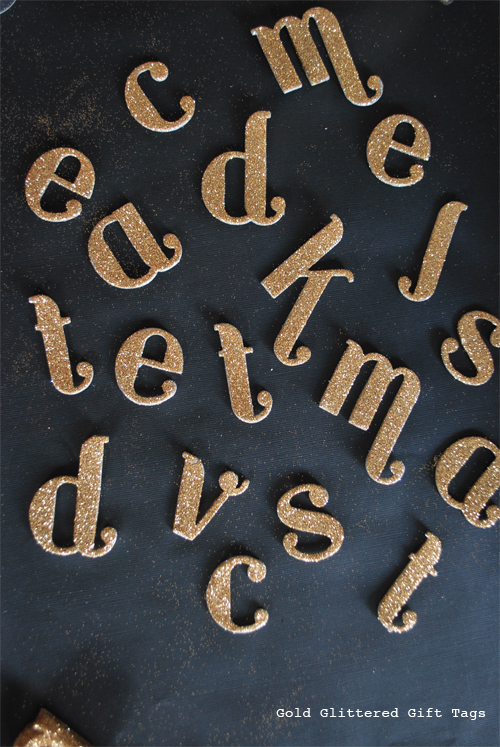
Be somewhat generous with the glue or else the glitter won't have anything to stick to and it won't completely cover the surface. Use the sponge brush to spread the glue around and cover the entire letter really well.
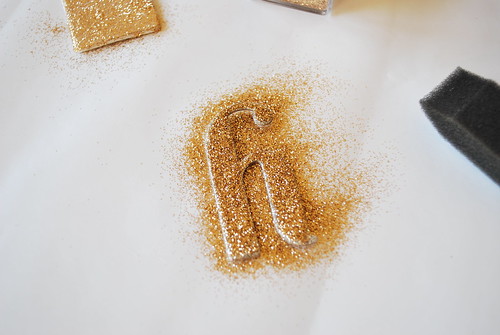
Gold makes it all better, no?
I let the letters dry for a good hour before handling them. And make sure to dust them off really well, or else you'll get glitter everywhere.
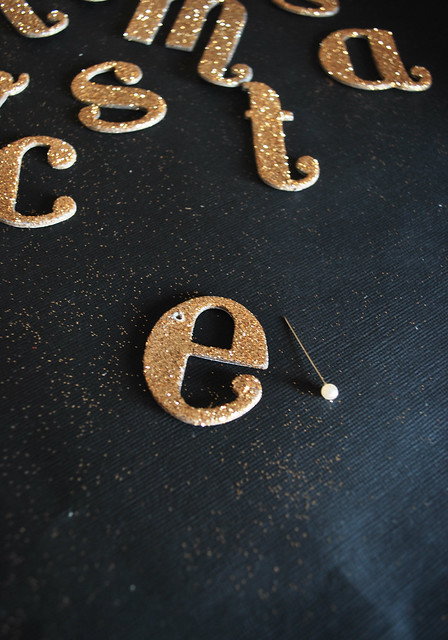
I used a sewing pin to make a hole. OR if you're short on time or just don't want to do this part, you could stick the letters right on your wrapped gift since they're adhesives. But because I like to do things the hard way (and b/c I like the look of the letters having some movement on the gifts) I chose to do it this way.
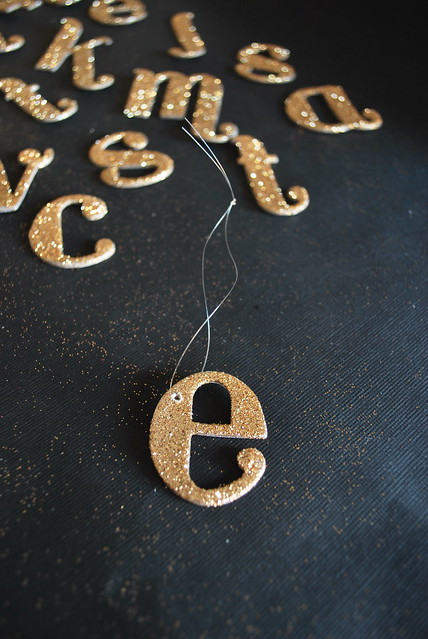
Fishing wire/string works really well, or thread too. Any kind of string that you can get through the hole will work.

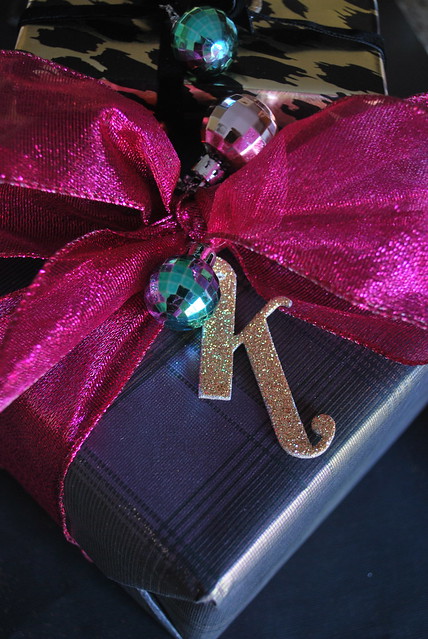
Ta da! I tied the fishing wire that I had around the black velvet ribbon to secure it. I also added a mini faceted ornament that I picked up from Target (a tube of these mini ornaments were only $1!!) to add some color and more embellishment to the gift.


9 comments
Love them!! Great idea ;)
ReplyDeleteThank you so much Gaby!!! I feel like I need to do more of these diys, it felt so good doing something crafty :)
Deletefitflops sale
ReplyDeleteadidas nmd for sale
michael kors factory outlet
michael kors outlet store
michael kors factory outlet
cheap nfl jerseys
cheap true religion jeans
cheap air jordan
cheap jordan shoes
nike kobe sneakers
http://www.outlettiffanyand.co
michael kors outlet online
air jordans,cheap air jordans,air jordan shoes,air jordan 11,air jordan 13,air jordan 6,air jordan 4
nike huarache
tiffany and co jewelry
michael kors handbags
7.15lllllyuan"coach outlet clearance"
ReplyDelete"beats headphones"
"ralph lauren outlet"
"nike roshe run"
"ralph lauren polo"
"lacoste pas cher"
"gucci outlet"
"adidas outlet store"
"michael kors outlet uk"
"mulberry handbags"
"coach factory outlet"
"louis vuitton sunglasses for women"
"louis vuitton handbags"
"true religion jeans"
"tory burch outlet"
"fitflops sale"
"coach outlet store"
"cartier sunglasses"
"louis vuitton handbags outlet"
"prada sneakers"
"air max 90"
"ray ban sunglasses"
"air jordan shoes"
"tiffany outlet"
"polo ralph lauren"
"cartier uk"
"true religion jeans"
"michael kors canada"
"iphone case uk"
"true religion jeans"
"ralph lauren pas cher"
"coach outlet"
"rolex watches"
"louis vuitton bags"
"michael kors outlet clearance"
7.15
harden shoes
ReplyDeletemontblanc
coach factory outlet online
air jordans
air max 90
louis vuitton outlet online
coach outlet online
birkenstock uk
adidas superstar shoes
adidas nmd r1
2017117yuanyuan
ugg outlet
ReplyDeletechristian louboutin shoes
christian louboutin shoes
mbt shoes online
ugg outlet
polo ralph lauren
new york jets jerseys
coach outlet
oakley sunglasses
cheap oakley sunglasses
jordan shoes
ReplyDeletecheap jordans
yeezy
yeezy
golden goose sneakers
air jordan
kyrie 7
curry 6
kobe basketball shoes
100% real jordans for cheap
a knockout post https://www.dolabuy.su description Bottega Veneta Dolabuy article source Gucci Dolabuy
ReplyDeletet8s66w1n65 g1p90e7p25 y8t89y2t27 t5f23f3a20 s4n59d4i84 y5b59w1y84
ReplyDeleteThank you so much for taking the time to leave a comment! I enjoy hearing from you, so keep the comments coming!